Deburring & Edge-Breaking: Methods, Standards and When to Specify Them
How to remove burrs and control edge conditions on machined parts - manual, tumbling, blasting, thermal and electrochemical deburring, plus how to call out an edge break on a drawing.

Almost every machined, stamped or cut metal part comes off the tool with burrs — thin ragged ridges of displaced material left along edges and around holes. Burrs look minor, but they cause real problems: they cut assembly workers’ hands, jam mating parts, mask true dimensions, snag seals and wires, and break loose later to contaminate a mechanism. Deburring is the step that removes them and breaks sharp edges to a controlled condition. This guide explains the main deburring methods, how to call out an edge condition on a drawing, and how to choose the right approach for your part.
Why Burrs Form — and Why They Matter
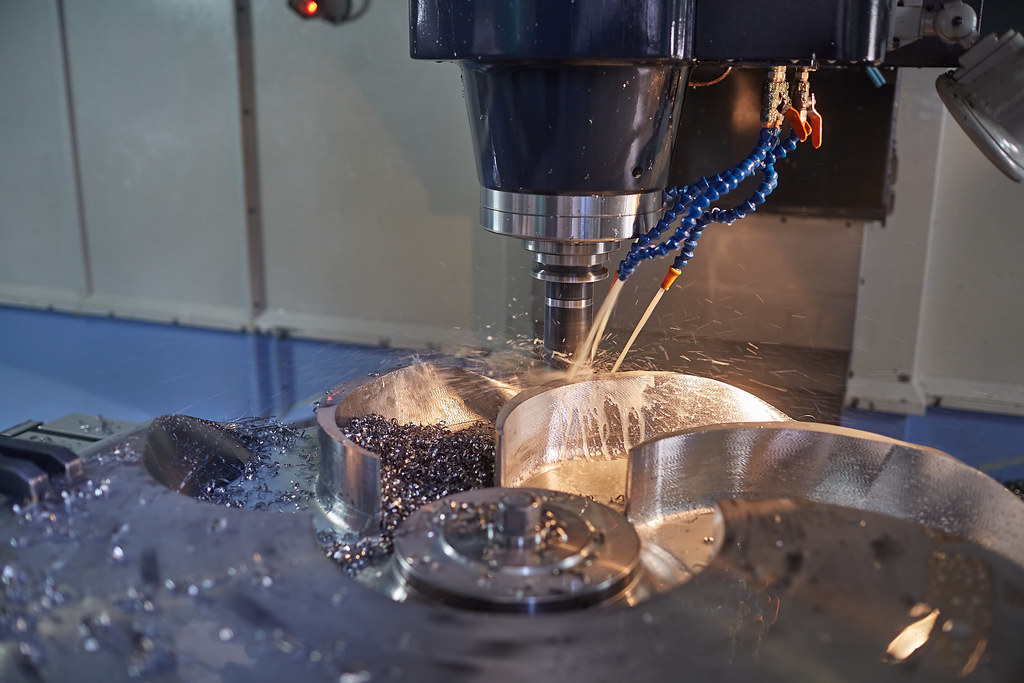
A burr is simply metal pushed past the edge instead of cleanly sheared. Cutting tools, drills, punches and saws all leave them where the tool exits the material. Ductile metals like aluminium and low-carbon steel burr more than brittle ones. Left in place, burrs cause four classes of failure: safety (lacerations during handling), fit (a burr around a bore stops a pin or bearing seating), function (a loose burr in a hydraulic or moving system causes wear or jamming), and finish (burrs interfere with plating, anodizing and sealing). That is why a clean edge is a quality requirement, not a cosmetic nicety.
Common Deburring Methods
| Method | How it works | Best for |
|---|---|---|
| Manual (file, scraper, deburring blade) | An operator breaks each edge by hand | Low volume, large parts, selective edges |
| Tumbling / vibratory | Parts ride in abrasive media that wears edges uniformly | Small-to-medium parts in batches |
| Abrasive / media blasting | Blasted media knocks down light burrs and unifies texture | Light burrs plus a cosmetic finish |
| Brush / wheel deburring | Abrasive brushes or wheels work flat faces and edges | Sheet-metal edges, flat machined faces |
| Thermal (TEM) | A gas burst burns off burrs in internal passages | Complex internal features, cross-holes |
| Electrochemical (ECD) | Controlled dissolution removes burrs at precise spots | Precision bores and intersecting holes |
Manual and tumbling cover the large majority of everyday parts. Thermal and electrochemical deburring are specialist processes reserved for parts where burrs hide in places a tool cannot reach — for example the intersection of two cross-drilled holes in a hydraulic block.
Calling Out an Edge Condition on the Drawing
“Remove all burrs” is a start, but a precise drawing says how sharp an edge may be. The common controls are:
- Break edges 0.1–0.3 mm — a small, defined chamfer or radius on machined edges. This is the typical default for CNC parts.
- Break all sharp edges — remove the cutting hazard without a specified size, suitable where edge geometry is not critical.
- Sharp edge permitted / required — called out only where a sharp corner is functional (a sealing or scraping edge), so the shop knows not to round it.
- Edge-break per standard — reference a company or industry edge-break specification for repeatable results across suppliers.
Being explicit prevents two opposite failures: an over-rounded edge that ruins a press fit, and a knife-sharp edge that injures or fails inspection. For the tolerancing language that surrounds these callouts, see our engineering reference tables and design tips.
Designing Parts That Are Easy to Deburr
Deburring cost scales with how hard the burrs are to reach. A few design choices keep it cheap:
- Add a small chamfer in the model. A modelled chamfer gives the machinist a clean edge target and reduces hand work.
- Avoid deep, narrow internal corners and blind cross-holes where burrs are hard to reach and may demand thermal or electrochemical deburring.
- Group edges to a single break callout rather than dimensioning many different edge conditions, which slows inspection.
- Specify a finish that follows deburring — bead blasting, anodizing or powder coating — only after edges are broken, so the finish lands on clean geometry. Compare options in our finish comparison and surface finishes guide.
The Bottom Line
Deburring is a small operation with an outsized effect on safety, fit and reliability. Choose manual or tumbling for the bulk of parts, reserve thermal and electrochemical methods for buried internal burrs, and always state the edge condition you want on the drawing rather than leaving it to chance. A defined edge break is one of the cheapest pieces of insurance you can put on a precision part.
MechPart Pro deburrs and edge-breaks every part to your drawing callout, with tumbling, brushing, manual and specialist deburring available for demanding internal features. Share your model and our engineers will confirm the edge condition and finishing sequence as part of our free design-for-manufacturability review. Explore the alloys behind these parts in our materials guide.
Related capabilities

Have a part to make?
Upload your CAD for a detailed quote and free DFM feedback within 24 hours.